Building your own scanning rig can be a fun and rewarding project for anyone interested in 3D scanning. A scanning rig is a hardware system used to capture data and create a digital representation of an object or environment in three dimensions. In this step-by-step guide, we will explore how to build your own scanning rig.
Materials Needed:
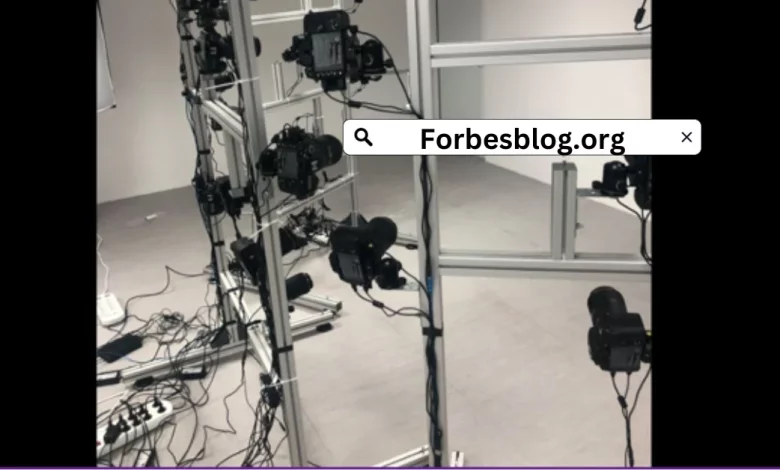
DSLR camera
Tripod
Turntable
Object to scan
Lighting equipment
Computer with 3D scanning software
Step 1: Setup
Set up your tripod and turntable in a location with good lighting. Position the tripod and turntable so that the object to be scanned is centered on the turntable and the camera can capture it from all angles.
Step 2: Camera and Lighting
Attach your DSLR camera to the tripod and connect it to your computer. Position the lighting equipment to ensure that the object is evenly lit from all angles. It’s important to use diffuse lighting to avoid harsh shadows on the object.
Step 3: Calibration
Calibrate your camera and software settings to ensure that the captured images are accurate and consistent. This can involve adjusting the ISO, shutter speed, aperture, and white balance of the camera. You can also use a calibration tool such as a checkerboard or a known object of a specific size to ensure accurate measurements.
Step 4: Object Scanning
Place the object on the turntable and start rotating it. Take pictures of the object from all angles as it rotates, ensuring that you capture all sides of the object. It’s important to maintain consistent lighting and camera settings throughout the scanning process.
Step 5: 3D Scanning Software
Upload the captured images to your 3D scanning software and create a 3D model of the object. The software will stitch together the images to create a 3D model of the object that can be manipulated and edited as needed.
Step 6: Post-processing
After the 3D model is created, you can edit and clean up the model as needed using software tools. This can include removing unwanted artifacts or smoothing out rough areas of the model.
Step 7: Exporting the Model
Once the model is complete, you can export it to various file formats such as STL, OBJ, or FBX for use in other software applications or 3D printing.
To sum it up, building your own scanning rig can be a rewarding project for anyone interested in 3D scanning. Follow these steps to create your own scanning rig and start exploring the world of 3D scanning today.Of course, you can count on professionals and contact Digital Reality Lab – 3D scanning of humans and apparel solutions to help with the case.